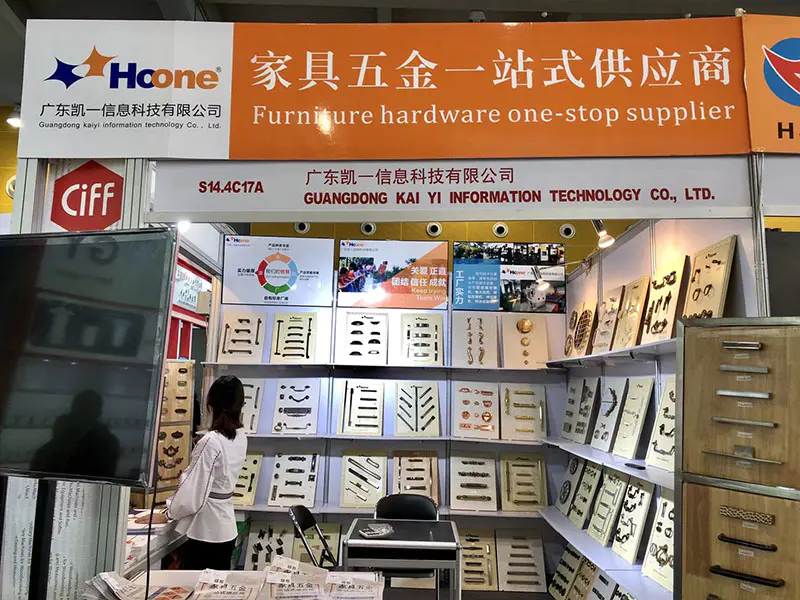
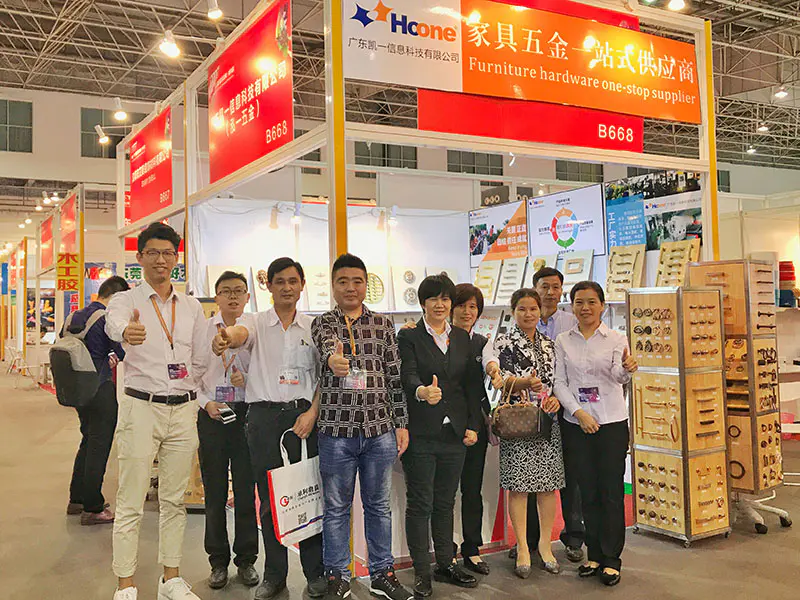
this old house salvage-style projects: faucet handle towel rack-Hoone-img
loading

this old house salvage-style projects: faucet handle towel rack

by:Hoone      2020-05-02
Photos of Kristine LarsenStylelist Home proud to present a project-a-
Starting with this wonderful new book, This Old House salvage-style project has begun.
The fact is that taps are rarely considered materials for reuse and reuse.
But this DIY towel rack and wall rack is not the case.
Made of grain barn wood, gorgeous casting
Iron brackets and discarded porcelain crosses
This low-handle faucet
Cost substitution is definitely better than those running-of-the-
Grind towel racks and wall hooks to fill your bathroom with retro charm.
Title: towel RackTIME made using faucet handle: 1 hour cost: $100 Skill level: easysupply: barn wood or scrap wood 2 rack Holder 3 virtual spindle pencil epoxy 1 5/8-Inch trim-
Head Screwdriver: tape drill bit/drive 1/16-
Inch bit screwdriver combo squarstep 1: Measuring mounting plate.
Cut the wood according to the size and use the tape measure to determine the rough distance between each handle.
I plan to place my space evenly on the surface of the board.
Coefficient of extra inches on both sides of the plate of the bracket.
Step 2: mark where the shelves will go.
Track the line where its top shelf is located on the board to determine how high the support bracket is at both ends.
Step 3: determine the position of the bracket.
Place the Bracket 1 inch from the end of the mounting plate and the top is just below the pencil line.
Mark the position of the bracket fastener.
Step 4: fix the bracket.
First, use the drill bit/drive to create a guide hole for the fastener.
Then use the screw with the bracket to secure the bracket on the plate.
Step 5: Mark the layout line to determine the position of the handle.
Use your pencil to gently draw a horizontal line in the center of the mounting plate.
Then, mark the vertical line with uniform spacing through horizontal lines.
Where the line intersect, the handle will go.
Step 6: add virtual spindle.
Place the post on the mark and drill holes for its fasteners.
Ensure the position of the board.
Step 7: stick to the esscut cheons with glue. Mix a two-part fast-
Dry epoxy for bonding metal.
Apply the epoxy to the edge of the porcelain piece and place it on the spindle.
Step 8: stick to the handle \"hook.
\"Fill the metal fittings at the bottom of each handle with epoxy and install them on the top of the spindle.
Wipe any epoxy that permeates and wait 5 minutes for the adhesive to set. (
It takes 1 hour to heal. )
Step 9: shelves.
Place the top of the shelf on the stand.
To fix it in place, drill the pilot hole and drive the trim-
Head screws go through the back of the mounting plate and enter the edge of the shelf.
Now, pick a good place in the bathroom for your new towel rack.
Custom message
Chat Online 编辑模式下无法使用
Chat Online inputting...